|
IMAGE EDITING Chuck Williams |
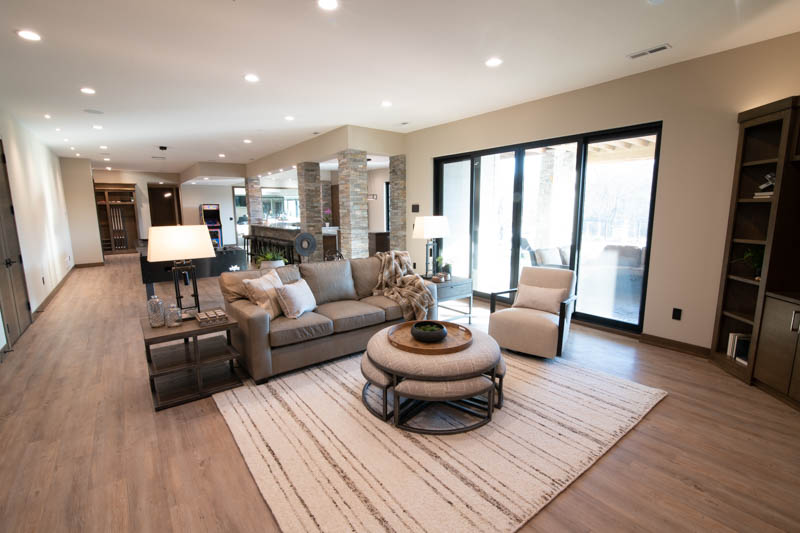
WHY DO THE WALLS LEAN OUTWARDS?

← We've all seen this.But not in Architectural Digest, because back in the days before digital, it was standard practice to shoot architecture using a perspective control view camera. You could actually shoot downwards without tilting the camera. All of the vertical elements in the image came out parallel and upright. Even today, a corrected perspective is the standard for most magazine publication. Yes, you can get a shift lens for your Nikon or Canon full frame DSLR, which makes it work much like a view camera. But, I'm not suggesting that you run out and drop $5000 on camera gear. Instead, let me offer some techniques that you can employ that will allow me to correct the perspective in the editing process. The problem: The walls lean outwards at the top whenever you tilt the camera down.
The solution is to be prepared and plan for the editing process to come.
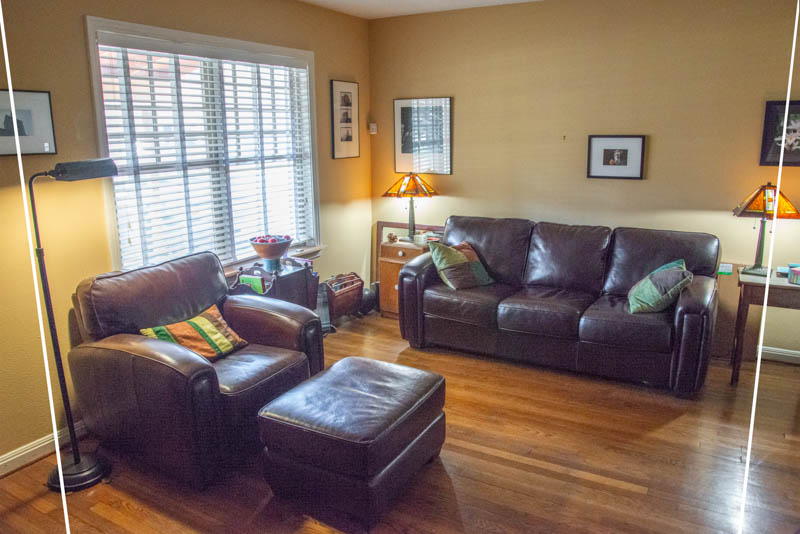
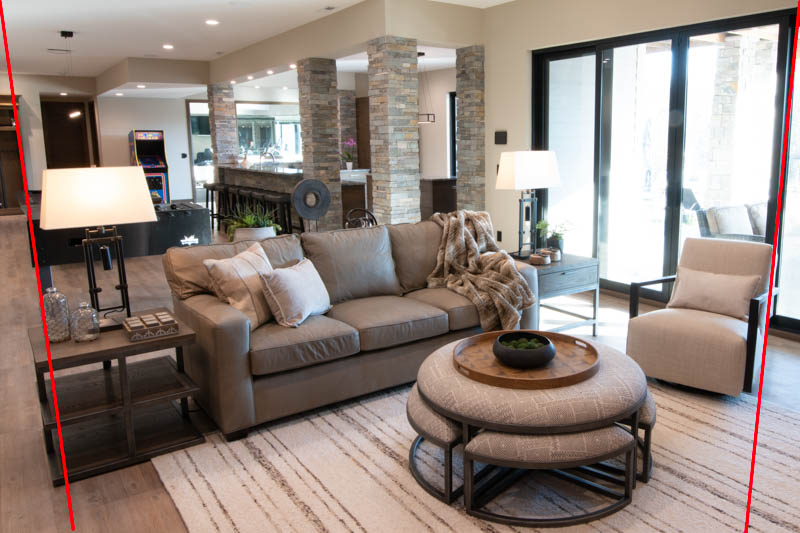
When you're composing your image in the camera, It's a good idea to visualize what's going to happen. You can start by imagining a pair of lines extending down from the upper corners of the image, matching the exaggerated perspective caused by tilting the camera down. As you can see in this image, the imaginary lines indicate which parts of the image are going to be cropped off, and what effect that's going to have on your composition. When you see that there is going to be a problem, make sure to shoot with some extra space around the image so that when it gets cropped, you don't lose any of your framing elements. Just move the camera back a step or two. Simple. Right? Well...not always. What if I can't get the camera any further back?Yup. It seems like that's the way it always works. You can't take two or three steps back, because you're already up against the wall, or in the corner of the room. So now what do you do? Sometimes you can solve this problem by changing lenses. Switching to a wider angle could give you that extra space around your original composition. Extra space that can be used to straighten the perspective.
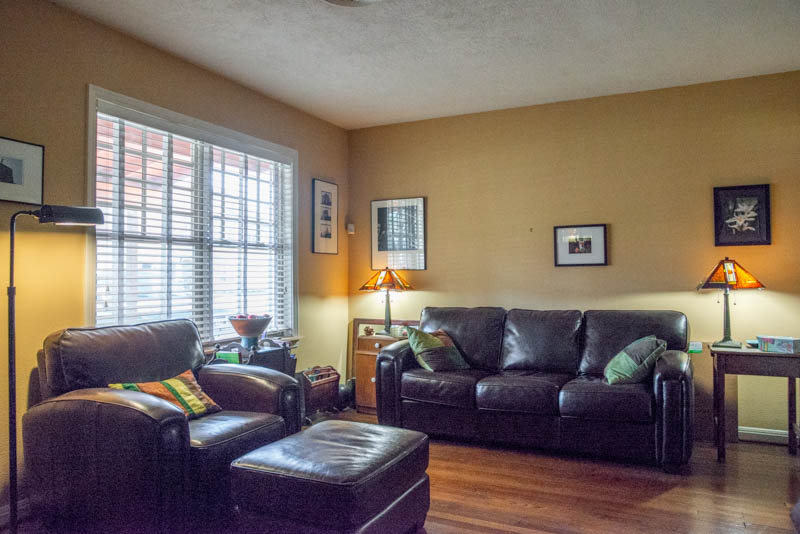
When switching to the more wide-angle lens, I always caution shooters to RESIST THE URGE TO GET CLOSER TO THE SUBJECT. An ultra wide lens can create a type of distortion that you do not want. The objects closest to the camera tend to zoom towards the viewer, while the rest of the room seems to be way off in the distance. I always suggest that the photographer start with the 24mm lens. Then, if it's obvious that the cropping is going to be a problem when the perspective is corrected, they can switch to the ultra wide lens. But don't change the position of the camera. WANT TO KNOW MORE? LET'S TALK.Talk is free and I love chatting with designers and photographers. Operators are NOT standing by. It's just me. :-) |
About Me
How Does It Work?
Shoot with your iPhone?
INFO FOR THE SHOOTERManaging the Perspective
Managing Mixed Lighting
My Shooting Technique
|


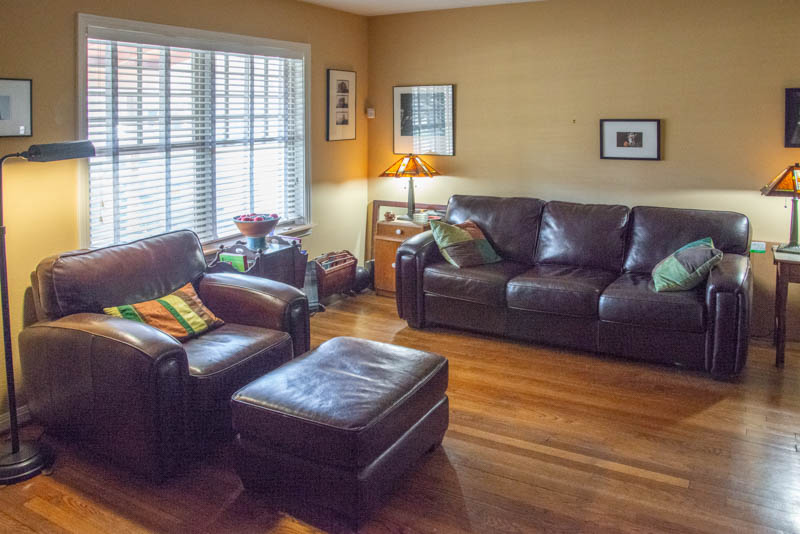
 Managing the perspective is not something that you can do in the camera. The best strategy is to shoot the image in such a way that it can be effectively corrected, later in the editing process. If it's done well, everything can then be brought under control in a way that retains the proper framing and composition in the final photo. It calls for a bit of advanced planning.